
Prerequisites
- A server
- Nginx installed
- A domain name
Steps
Domain Configuration
Generally, to set up HTTPS, you need a domain name. I got my current domain for free in 2023 from dynadot for one year—not sure if that offer is still available. If you need to purchase a domain, you can try dynadot‘s services, or consider using a free domain (usually a subdomain, though the experience isn’t as smooth).
In your domain registrar, locate the DNS settings.
If your primary domain is already in use, you can set up a subdomain instead. Here, I’ll use a subdomain as an example—the process is the same for a primary domain.
In the subdomain settings, add a record, select A, and point it to your server’s public IP.
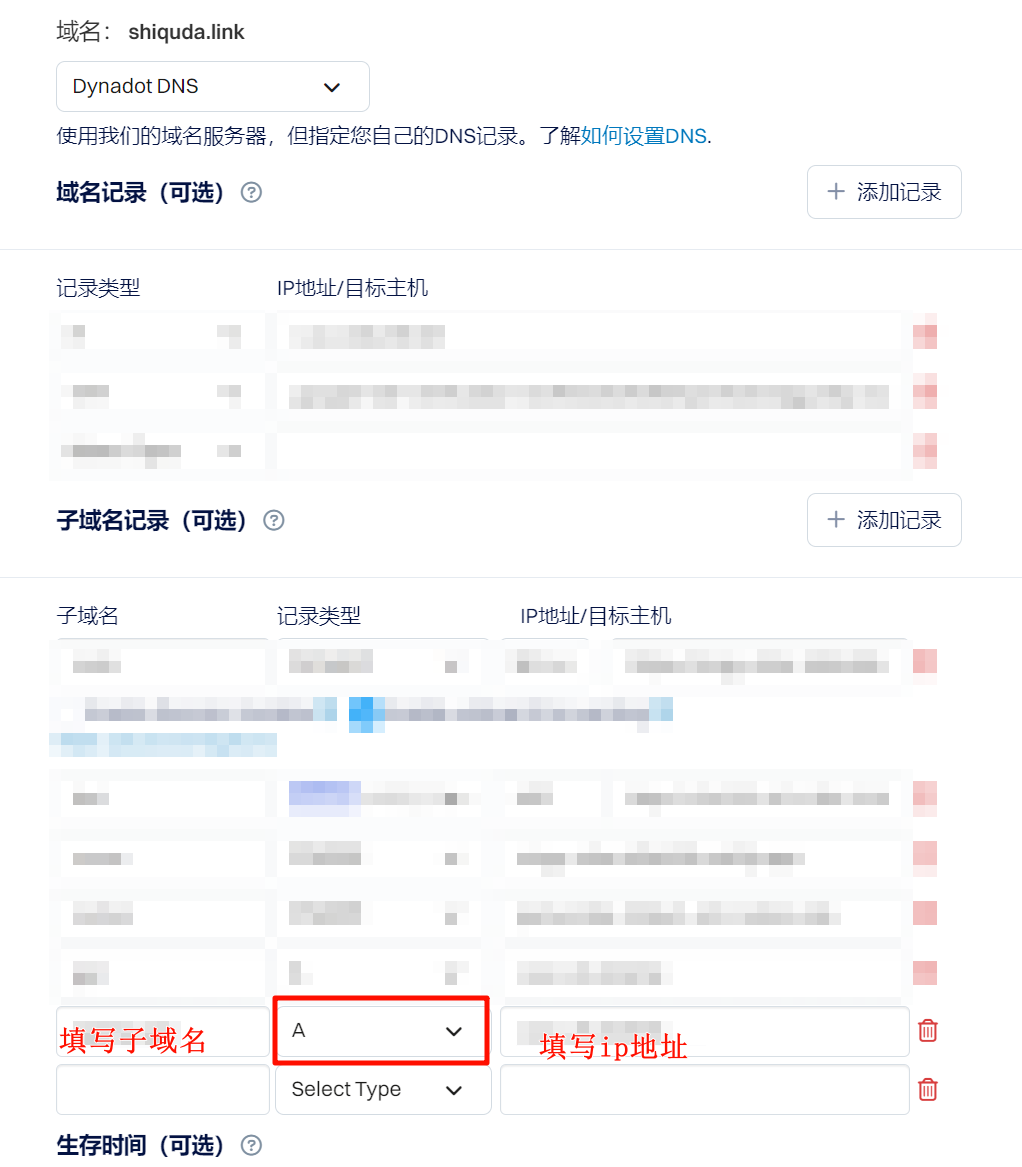
After saving, it may take a few minutes for the changes to propagate.
Nginx Configuration
If Nginx isn’t installed, here’s how to install it on Ubuntu:
1 | sudo apt-get update |
You can verify the installation with the following command:
1 | nginx -v |
You should see version information similar to this:
1 | nginx version: nginx/1.22.0 (Ubuntu) |
In the /etc/nginx/sites-available/ directory, create a new file (the name is up to you, but it’s best to keep it related to your website or service):
1 | sudo nano /etc/nginx/sites-available/<name> |
Fill in the following content (replace the values inside <> with your own):
1 | server { |
After saving, create a symlink with the following command:
1 | sudo ln -s /etc/nginx/sites-available/<name> /etc/nginx/sites-enabled/ |
Configuring Certbot
Install Certbot:
1 | sudo apt-get update |
Request a free certificate:
1 | sudo certbot --nginx -d <your_domain> |
Upon success, you’ll see:
1 | Deploying certificate |
After the request succeeds, if everything goes well, the certificate will renew automatically when it’s close to expiring.
To be safe, you can test a dry run of the renewal (it won’t actually renew anything):
1 | sudo certbot renew --dry-run |
Usage
Now, when you visit your domain, HTTPS should be working.